Udacity Self-Driving Car Nanodegree Project 11 - Path Planning - Part 2
Last time, in part 1 of this horror story, I told you about my first crack at the Udacity Self-Driving Car Engineer Nanodegree’s Path Planning project. To review:
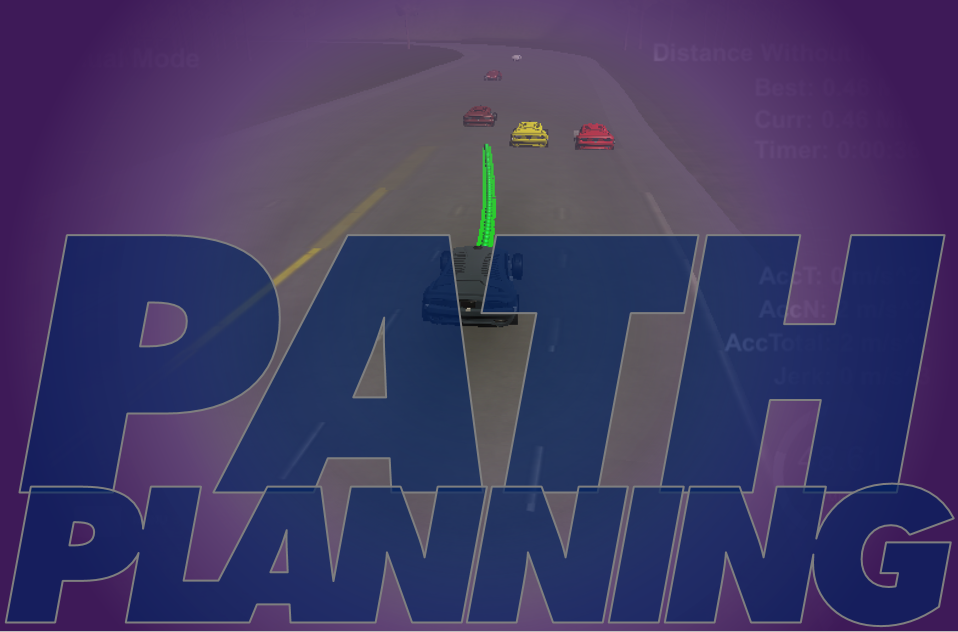
This project again put the Udacity simulator to use, this time in a highway driving scenario. The goal is to drive the entire 4.32 mile length of the gently curvy, looping track at near the posted speed limit while navigating traffic and without any “incidents” which include: driving over the speed limit, exceeding limits on acceleration and jerk (i.e. the change in acceleration over time, which can make for an uncomfortable ride), driving outside of the lanes, and, of course, colliding with other cars. The simulator expects of us a list of (x,y) map coordinates, each of which our car will obediently visit at 0.02 second intervals (even if that means violating every law of physics). In return, the simulator provides us with telemetry data for our car (position, heading, velocity, etc.), sensor fusion data for the other cars (on our side of the highway), and whatever points of the last path the car hadn’t already visited. We are also provided a .csv file that lists track waypoints. We can then use this data to determine a trajectory, convert it to a set of x and y points, and tack these points onto the end of however many points of the previous path we’ve decided to keep (this can help to account for latency between our planner and the simulator and, if you’re like me, it can also serve to artificially smooth the transition to a new trajectory).
My implementation, at least the first go-around, looked something like this:
- Interpolate the waypoints for a nearby portion of track (this helped to get more accurate conversions)
- Determine the state of our own car (current position, velocity, and acceleration projected out a certain amount of time based on how much of the previous path was retained)
- Produce a set of rough predicted trajectories for each of the other vehicles on the road (assuming a constant speed)
- Determine the “states” available for our car (in this case, “keep lane,” “change lanes to right,” or “change lanes to the left”)
- Generate a target end state (position, velocity, and acceleration) and a number of randomized potential trajectories (with elements of the target state perturbed slightly) for each available state (these “Jerk-Minimized Trajectories” (JMTs) are quintic polynomials solved based on our current initial and desired final values for position, velocity, and acceleration)
- Evaluate each of these possible trajectories against a set of cost functions (rewarding efficiency and punishing things like collisions, higher average jerk, or exceeding the speed limit, for example)
- Choose the best (i.e. lowest-cost) trajectory
- Evaluate it at the next several 20-millisecond intervals
- Tack those onto the retained previous path, and
- Return the new path to the simulator
So then Udacity released their walkthrough. There were no predictions, no quintic polynomials, no perturbed trajectories. In fact, the trajectories being sent to the simulator were “hand processed”, so to speak. Each new point in the path is placed (using the very simple spline library) based on a curve that fits latitudinal (y) position against longitudinal (x) position and is evaluated at x points calculated based on desired velocity (which is hard-limited to prevent excessive acceleration and jerk). In other words, fit a curve from the end of the previous path to the desired location (say, the middle lane 30 meters ahead) and add points from that curve to the new path such that motion constraints are satisfied. If there’s another car ahead we slow down to an arbitrary speed, and if there’s no car in the next lane we move over there. The end.
My first inclination was to trash all of my current code (maybe even poison it and set it on fire, while I’m at it) and duplicate the walkthrough code exactly. Hadn’t I already invested enough time in this? But cooler heads prevailed and I decided to adapt quite a bit of my existing code. I kept the waypoint interpolation because, like I said, it helps to get more accurate conversions and it also handles problems at the wrapping point (where the distance along the track goes from 6945.554 meters to zero meters). It still calculates the “current” (or “planning”) state of the car at the end of the retained previous path, determines available states and a target for each, generates a trajectory for each target and predictions for other cars, and chooses the best trajectory based on a set of cost functions.
I also made quite a few changes. No more randomized, perturbed trajectories. And rather than build the new path points by evaluating the jerk-minimized trajectory at the next 20-millisecond intervals, I employ a method similar to the walkthrough - creating a spline from the end of the previous points to the already-determined target and evaluating the spline at longitudinal points that satisfy motion constraints (thankfully my target velocity was also already being determined and corrected for any traffic in my lane), and converting those points into map coordinates. That made all the difference - my car was driving smoothly now. Praise be!
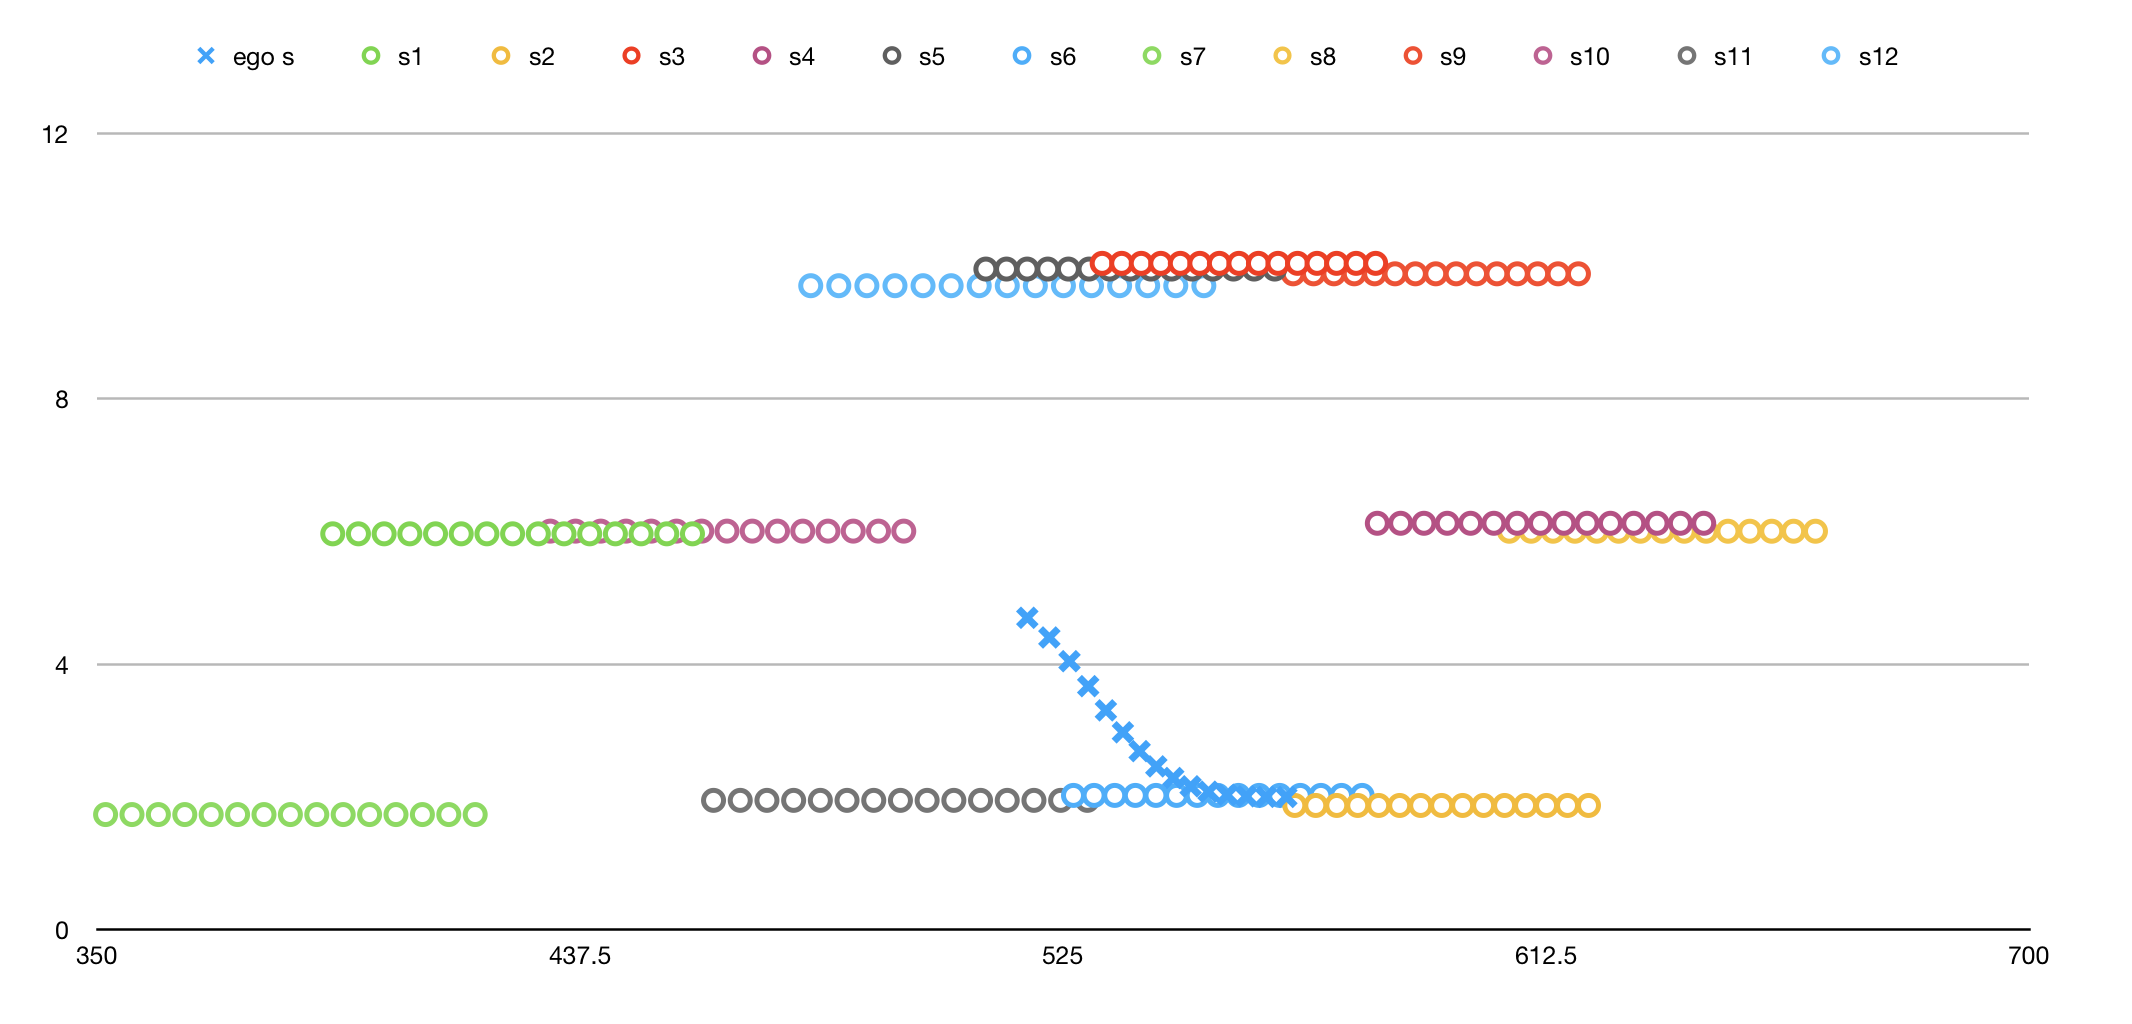
Now, bear in mind that I was still using the JMT and evaluating targets based on the costs calculated for their associated trajectories. These trajectories might not necessarily match what the spline produces in the end, but I simplified the cost functions and decreased the resolution on the trajectories (evaluating them at twenty points 0.2 seconds apart) in hopes that the difference between corresponding JMT and spline trajectories is negligible compared to the difference between the trajectories for different targets. Based on this image (which you may remember from last time) and the car’s performance, that would appear to be the case.
The cost functions I settled on in the final implementation are, in order of importance: collision cost (don’t hit other cars, duh!), efficiency cost (go as fast as you can, within constraints of course), in-lane buffer cost (prefer lanes with more room to go full speed), not-middle-lane cost (we like to stay in the middle lane when we can, since it affords more options than other lanes), and buffer cost (try to keep some distance from other cars, in any direction). I ditched several cost functions that had to do with perturbing targets or constraining motion (since I limit that explicitly now).
As an aside, I’d like to take a moment to express my fondness for cost functions. It’s a concept that is relatively new to me and one that seems fairly unique to artificial intelligence. It’s not too unlike machine/deep learning in the “don’t be explicit - let the computer figure it out” sense, but it’s more like another dimension of relenting control since you can turn a supervised learning application into a reinforcement learning application using cost functions instead of a more rigid, singular loss function. (That’s how I see it, anyway.) Fascinating, eh?
Anyway, the one other noteworthy change I made in my final implementation was to add some ADAS (as I like to call it) to the mix. The trajectories and cost functions worked great, but there was a problem that came up on the rare occasion that a car ended up too close and (I’m oversimplifying here, for sure) sort of occupied that space between the current position and the end of the previous path. I added flags for car_just_ahead, car_to_left, and car_to_right based on instantaneous telemetry and sensor fusion data to override the planner and either automatically slow down or preclude a lane change as an available state.
Bingo! It was weaving in and out of traffic just like those assholes you encounter on a daily basis. You know the type.
I let it rip and came back a few hours later to this:
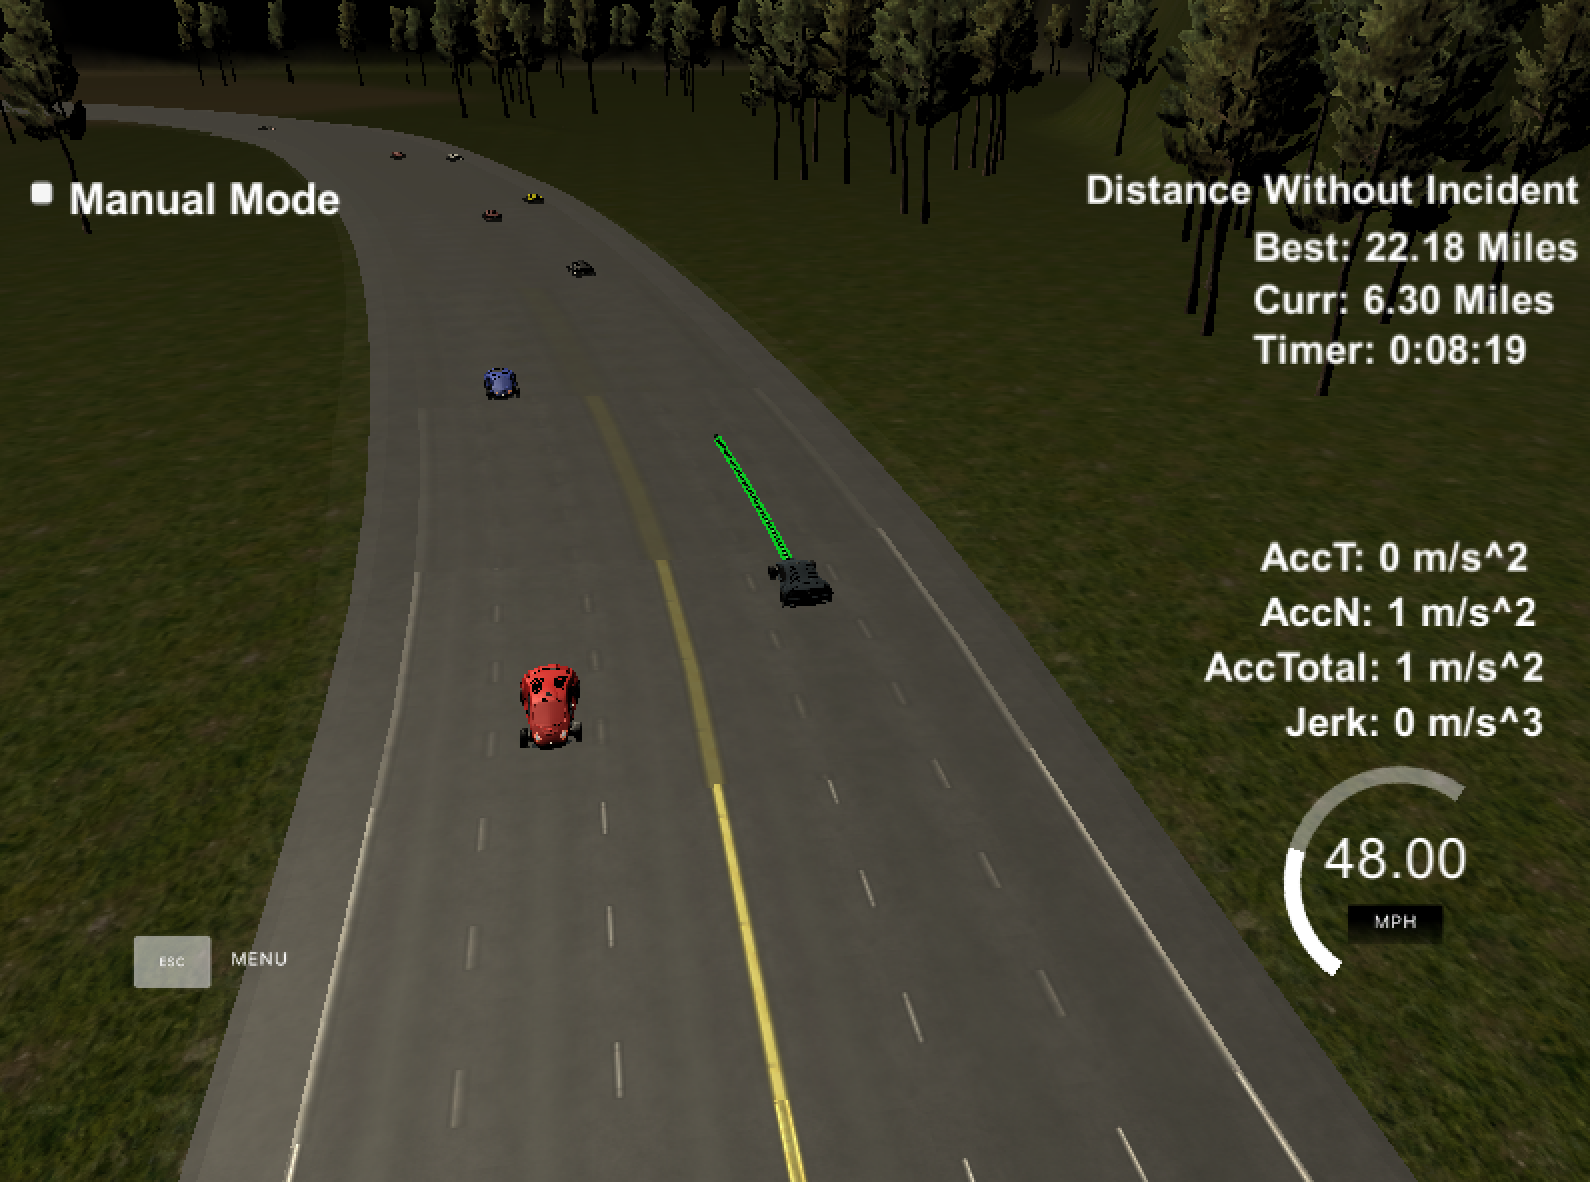
Twenty-two miles? I’d say it’s working well enough to pass!
Oh, one more thing. You didn’t think I was going to let you go without subjecting you to some incredibly stupid video, did you? This one is the stupidest yet… I couldn’t be more proud.

The code for this project, as well as a short but (maybe?) more technical write-up, can be found on my GitHub.